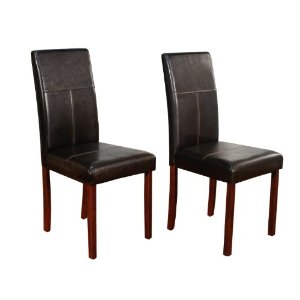
In the past we have splurged on “decent” dining room furniture. And it isn’t perfect, our kids wreck it, and it falls apart. Our last chairs, leather parson style, seemed ideal because they were wipe clean… which was great. But the cushioning seemed to disappear, the legs chipped, and the stitching came out in weird places. For $200/ chair I was more than a little disappointed.
Our last dining room table was a beautiful dark solid wood. But it wasn’t large, didn’t expand, had sharp corners and legs in each corner. We could not fit extra kids or extended family at our dining room table. It wasn’t working.
And then we moved. Before we even started our renovation I found a solid oak double-pedestal table with a leaf and 6 chairs on our local buy and sell site for $150. In perfect condition. I made my husband go get it for me (force and bribery may have been used) and then it sat in storage for 9 months or so.
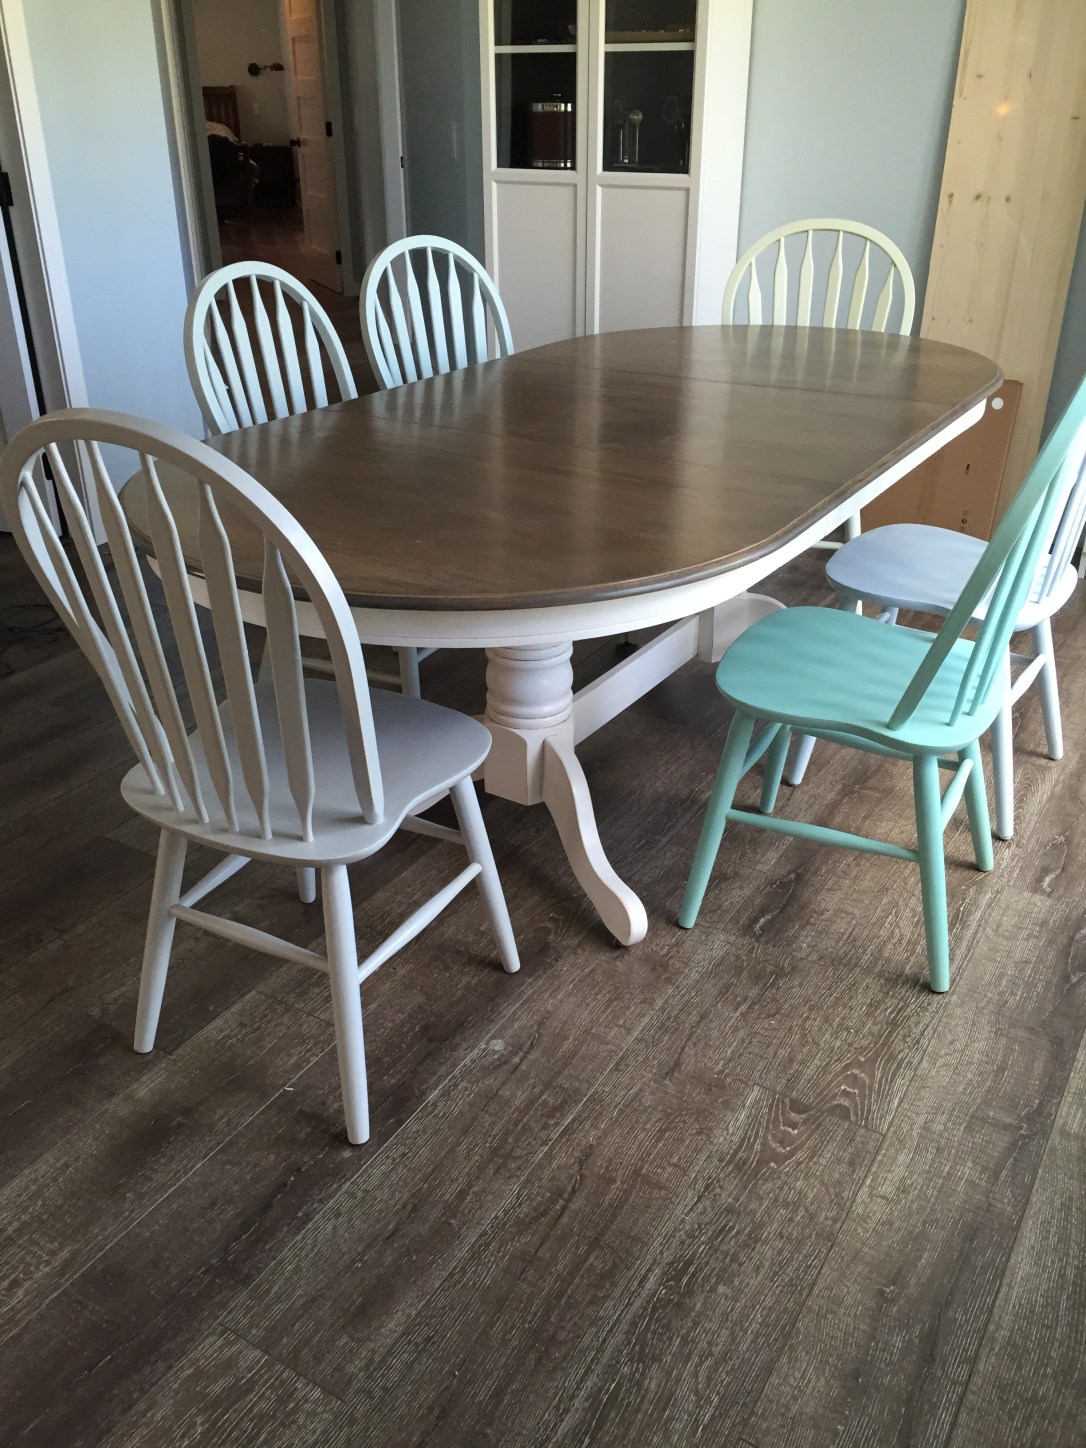
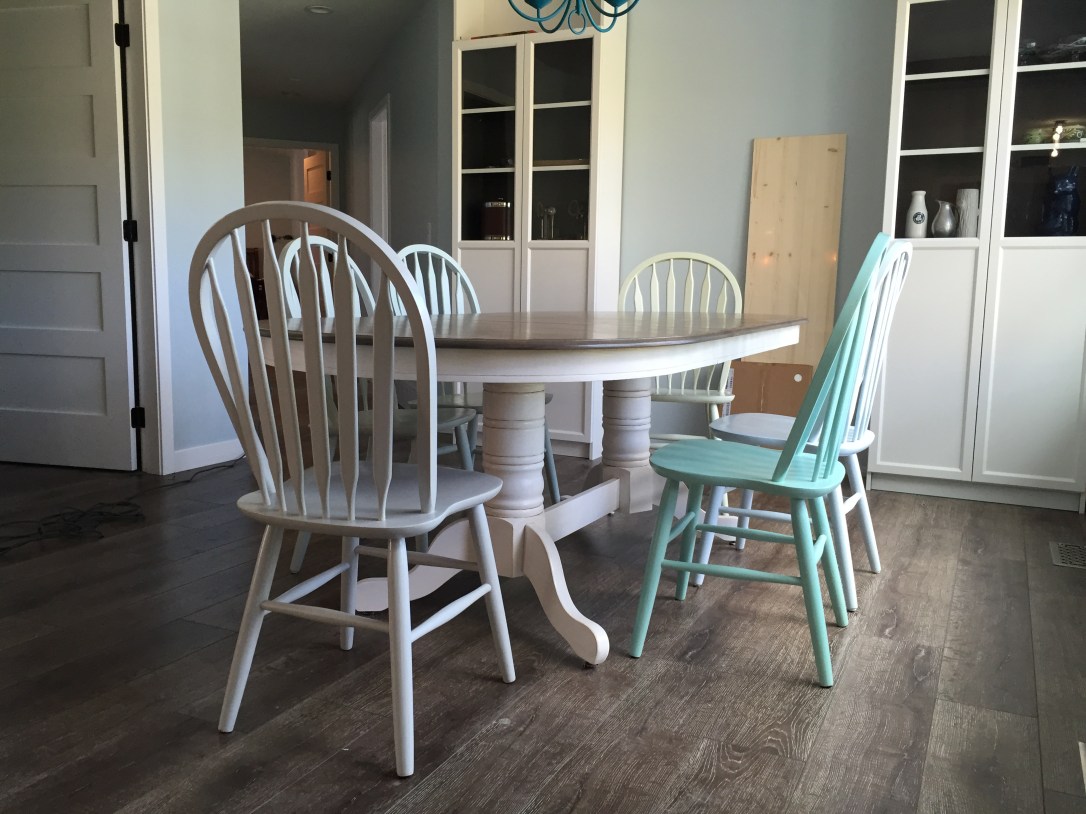
I started sanding and painting one chair at a time. I wanted them to be the colours of beach glass, each different, and I was not interested in perfection. I didn’t want to hurt the first child to wreck a chair so I didn’t put a tonne of effort into a perfect finish. It shows. But I accomplished what I wanted 😉
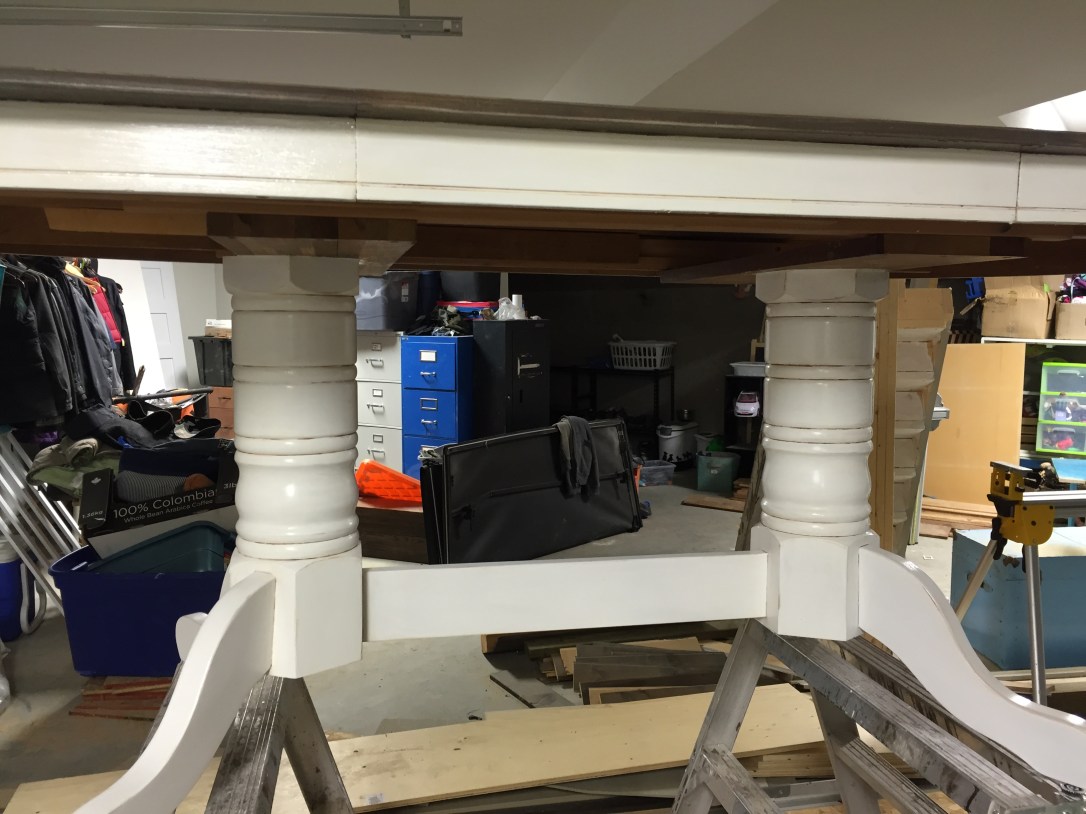
The table was fun! I pondered this one for over a year. I lightly sanded the bottom half so chalk paint would stick and fully sanded the top in order to re-stain.


My cat and dog oversaw this step.


I painted the bottom “Wedding Cake” with Martha Stewart Crafts “Vintage Decor Paint” from Michaels.
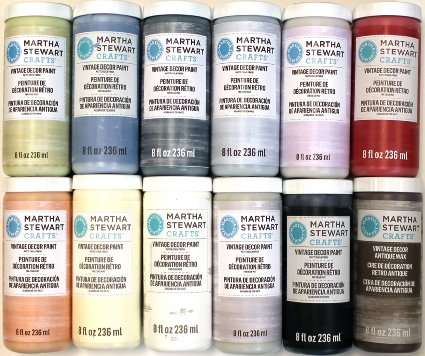
8 fl oz was $16.99 but I used my 40% off coupon… of course. I didn’t even use the full bottle so the expense was decent. A wax finish is customary but my children are animals so I applied a Varathane finish followed by an antique wax (product in bottom right corner of photo above) in the grooves for an antique look.
I wanted the top of the table a darker wood finish, but aged with a greyish tone. I used a wire brush in spots to create thin grooves in the grain. I used an inexpensive cloth to force a cheap white paint into the grooves.  I then has to re-sand the surface to remove the excess paint. This was a pain and I’m not sure that I would do it again. I then applied a coat of Minwax Jacobean stain. When the Jacobean stain was still slightly tacky I rubbed Varathane Sunbleached stain into the finish in spot with a rag, running with the grain.
After the stain completely dried I gave it a light sanding and then multiple coats of extra thick Varathane with light sanding in between. I am more than happy with the finished product. And I have already removed marker from the surface on multiple occasions. In the first week.